The Microsoft Dynamics 365 CRM reports wizard is a tool that helps users quickly and easily creates reports with charts, tables and drill-down capabilities. With the Dynamics 365 report wizard, you can Group and summarize data, Share with the entire organization, Add visuals such as charts and tables, Drill-down into the data and Run reports from lists and forms of underlying entities.
Creating custom reports in Dynamics CRM:
Step 1: Go to settings -> Reports.
Step 2: To create a new Report click on New.

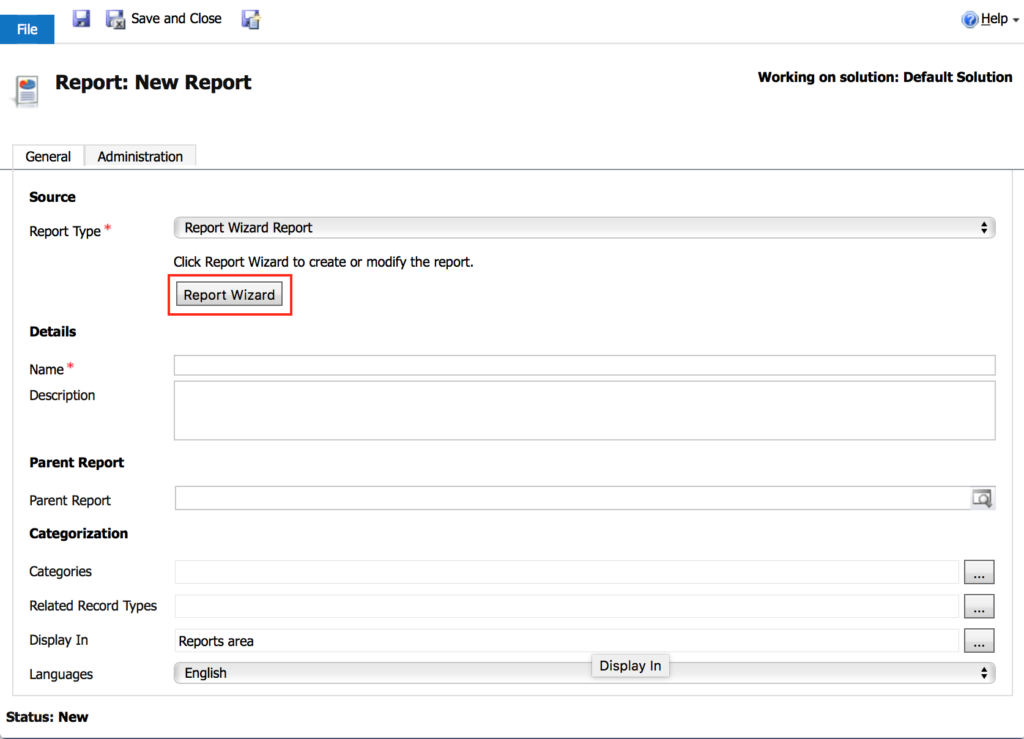
Step 3: Click on Report Wizard.
Step 4: Fill the fields and click Next.

Step 5: Report Properties wizard opens. Enter name for report and the appropriate entities to report on. Select Next.

Step 5: Report Properties wizard opens. Enter name for report and the appropriate entities to report on. Select Next.

Step 6: Select filters for the data presented in the report.


Step 7: Design the layout of report.

Step 8: Select the record type and the column for the data to have grouped in the report and select OK.

Step 9: Repeat step 7 for additional columns until all the data is in the report. In the Layout Fields screen, click Next.
Step 10: Choose how to format report. Choose desired format—Table only or Chart and table—and select Next.
Step 11: Review the summary of report and select Next.
Step 12: Run the report.

